How to Make Stairs Safer for an Older Dog
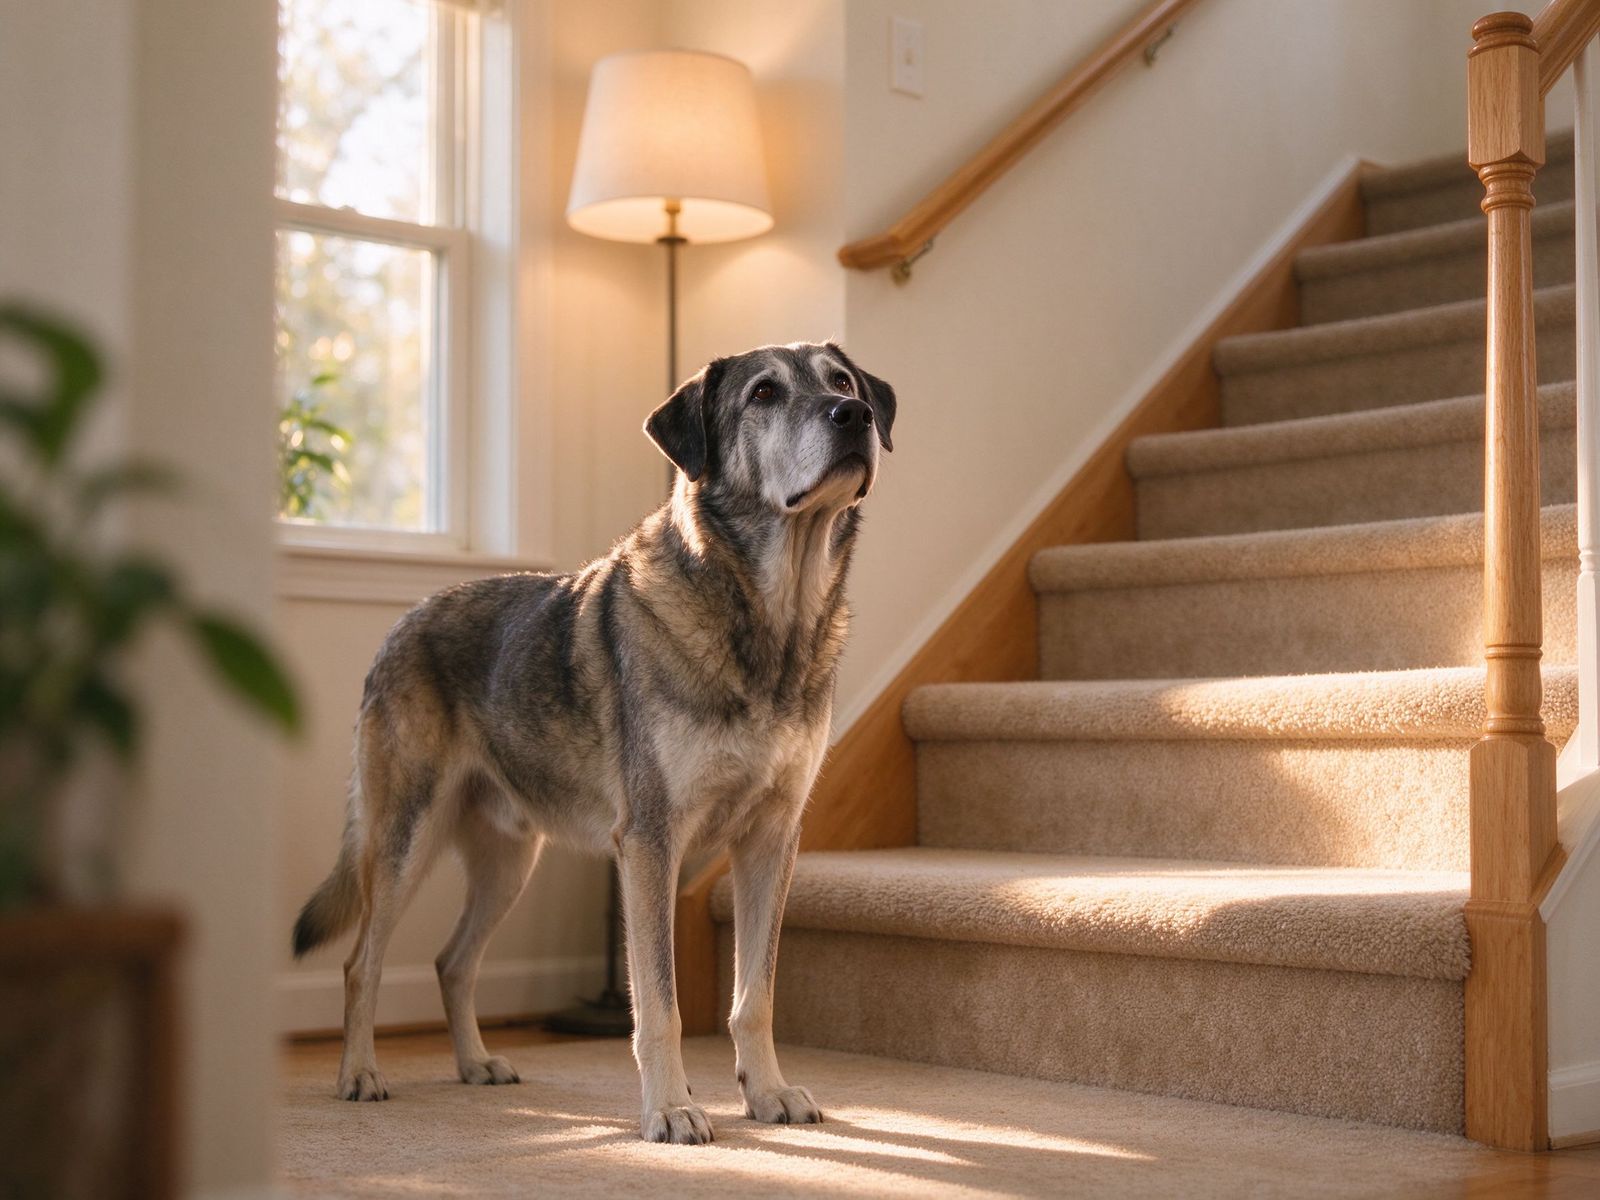
That pause at the bottom of the stairs is easy to miss. Your dog still wants to come up — to join you on the couch, to sleep upstairs — but the climb has quietly become the hardest part of their day. The good news is that most stair problems are solvable without carrying your dog up and down forever.
Why stairs become harder with age
Stairs ask a lot of an older body. Each step is a small lift against gravity, and going down asks the rear legs to control weight under tension. As back-end muscles weaken and joints stiffen, both directions get harder — usually going down is scarier than going up, because it requires controlled braking. A dog may not be “afraid of stairs” at all; they may simply lack the traction or leg strength to trust the next step.
Check the stairs themselves
Before you change anything about your dog, look at the staircase:
- Are the treads smooth, polished, or dusty? A clean, smooth step is the easiest place to slip.
- Is there a handrail or wall your dog can (subconsciously) brush against for confidence?
- Is the lighting dim at the top or bottom landing?
- Is there a runner that bunches, slides, or has a curled edge?
Many “stairs fear” episodes trace back to a slippery tread, a turned foot on a landing, or a dark corner.
Add traction
Non-slip stair treads applied to each step give paws a grippy surface at exactly the point of push-off and landing. Make sure they lie flat and cover the nosing (the front edge of the step), which is where paws actually land. Combine this with general traction fixes for the floors — a dog who feels steady in the hall feels steadier approaching the stairs too.
Reduce step height if possible, and create a shorter route
If a single step or a short run is the issue, a low, sturdy pet ramp or a set of shallow steps can lower the effort. You don’t need to climb the whole flight the hard way if a ramp solves the entry point. For open-plan homes, consider whether your dog really needs to go upstairs at all: bringing the bed, water and a potty option to one level often removes the problem entirely.
Support vs. carry
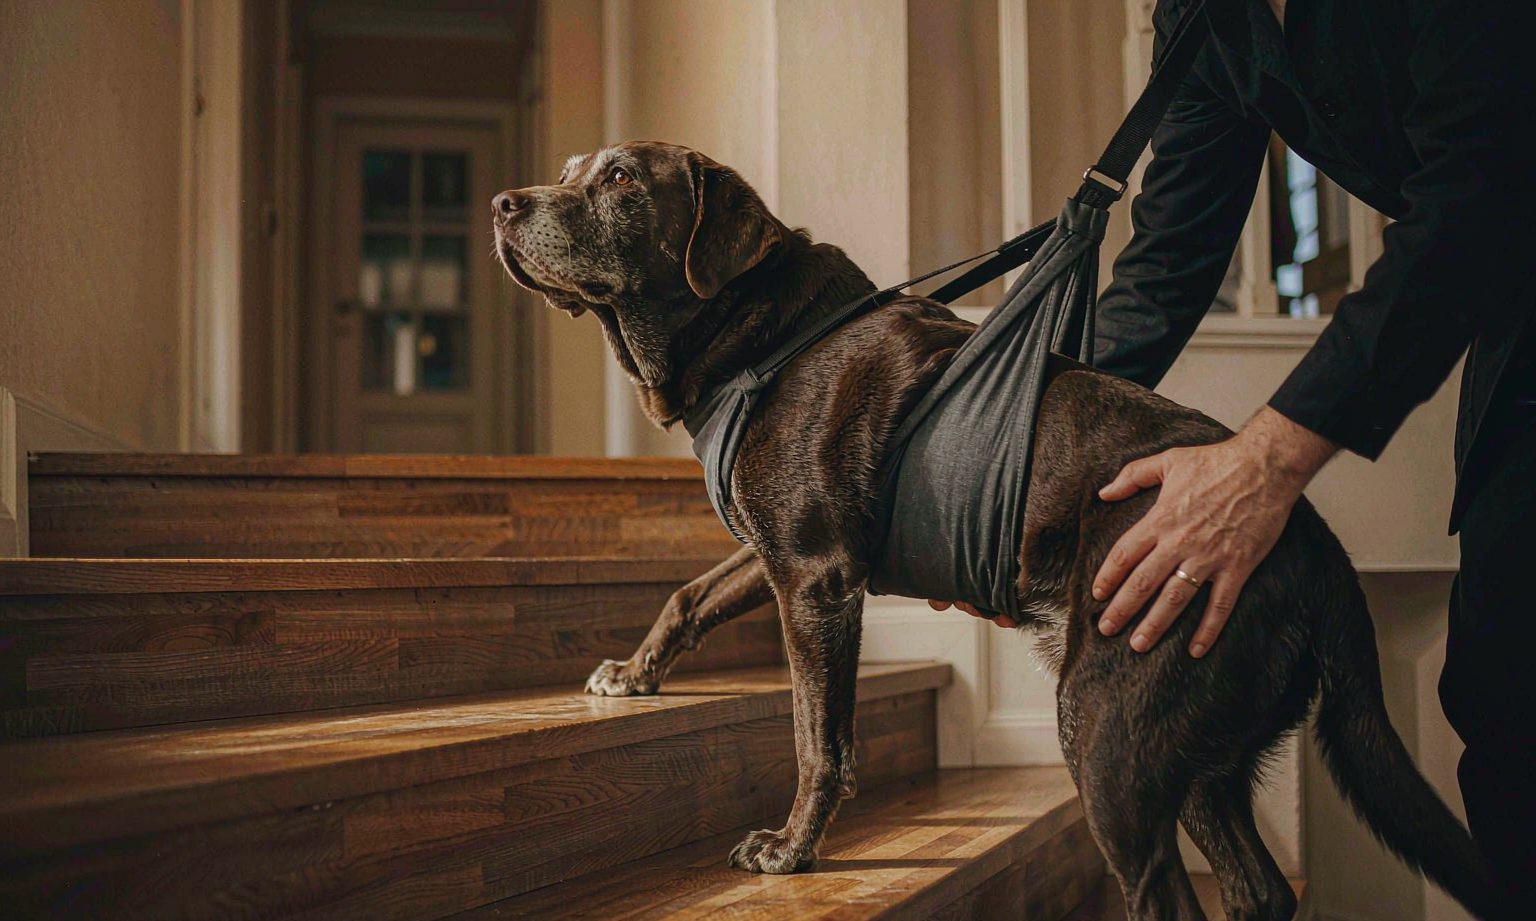
There’s a meaningful difference between supporting a dog who can still bear weight and carrying one who cannot. Carrying a large older dog up and down repeatedly is hard on your back and rarely sustainable. For short trips where your dog can still put weight on their back legs, a rear-support sling may be useful — it helps support the rear end on the way up or down without taking their full weight in your arms. It is not a treatment for weak legs, and it is not for a dog who cannot stand on their own.
How to use a rear-support sling
- Have your dog standing; position the sling under the belly behind the ribs, supporting the rear end.
- Use the handles to take a little weight off the rear legs, not to lift them off the ground.
- Let your dog set the pace; you’re steadying, not pulling them up.
- Keep sessions short — a flight of stairs, a potty trip — rather than wearing them out.
- Always release the support when they’re on flat, stable ground.
Choose the sling by chest/girth first, then body length and weight — see the three measurements and the working chart on our fit guide, and details on the support sling page.
Male-dog potty considerations
If you have a male dog, check that the sling sits clear of the genital area when he lifts a leg. A sling that blocks normal urination position will either get resisted or make outings stressful. The right fit and position matter here — if you’re unsure, send us the measurements and a side photo.
Introducing a support device
Don’t cinch up a new sling and head straight for the basement stairs. Let your dog sniff it, place it loosely on them on flat ground, and give treats. Build one easy flat walk first, then a couple of shallow steps, before the full flight. Most resistance comes from the unfamiliar feeling, not the thing itself.
When to gate the stairs or change route
Sometimes the kindest answer is to stop fighting the stairs. A baby gate at the top or bottom lets you decide which level is the safe “base camp,” keeping your dog away from an unattended tumble. Bring water, a bed and a washable pad to the level they can manage. This is not giving up — it’s reducing risk on the parts of the home that no longer work.
What if your dog suddenly stopped using stairs?
A gradual wariness is normal. But if a dog who used the stairs fine now suddenly refuses them, yelps, slips repeatedly, holds a leg, or is visibly weak on the rear end, treat it as a medical signal — not a flooring problem. Contact your veterinarian. Home support helps with gradual age-related changes; it does not diagnose or treat sudden pain, injury or neurological changes. For a wider look at the line between support and vet, read when to call your vet.
Stair options compared
| Approach | Best when | Effort / cost | Notes |
|---|---|---|---|
| Stair treads | Treads are smooth/slippery | Low | Cover the nosing; lay flat |
| Ramp / shallow steps | One entry point is the issue | Medium | Easier effort than a full flight |
| Rear support sling | Dog can still bear weight, needs steadying | Medium | For short trips; not carrying full weight |
| Gate / single-level setup | Stairs are too risky overall | Low | Bring bed, water, pad to the safe level |
Stair setup checklist
- Add non-slip treads to every step, covering the front edge.
- Light the top and bottom landings.
- Remove or secure any curled runner.
- Place a grip mat at the top and bottom landing.
- Trim nails and paw fur for better purchase.
- For short assisted trips, size a rear-support sling by chest/girth.
- If stairs remain risky, gate them and set up a comfortable single level.
See the support options. For short trips where your dog can still bear weight, a rear-support sling may help steady the rear end. Not sure of the size? Use the fit guide or ask us. Also read how to fix slippery floors and when to call your vet.